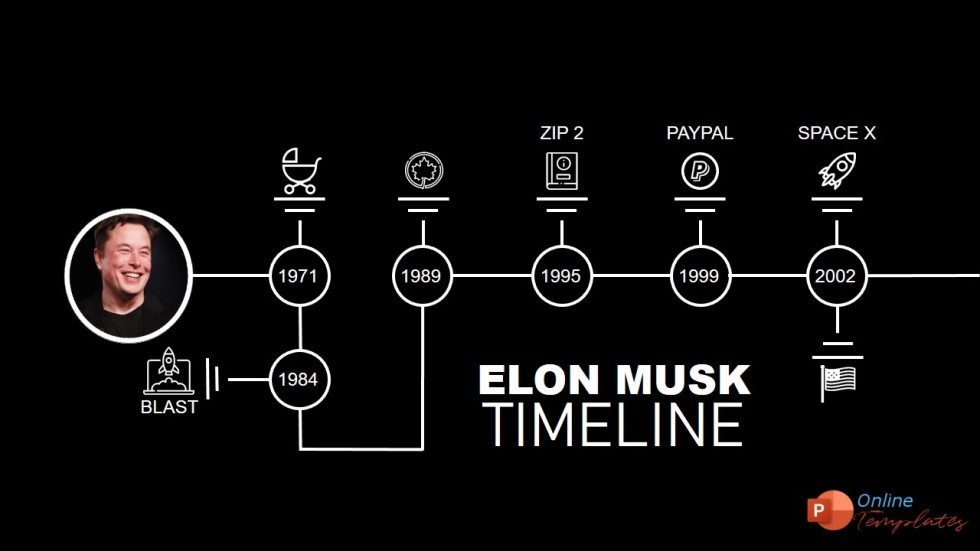
How to create a timeline in Powerpoint
Microsoft Office PowerPoint includes timeline charts that allow the user to chronologically trace a series of events. In this tutorial, you will learn how to create a timeline in Powerpoint fast and easy.
Including a timeline in your PowerPoint presentation is an effective way to visually show important events or milestones within a period. I show you step by step how to get it without effort.
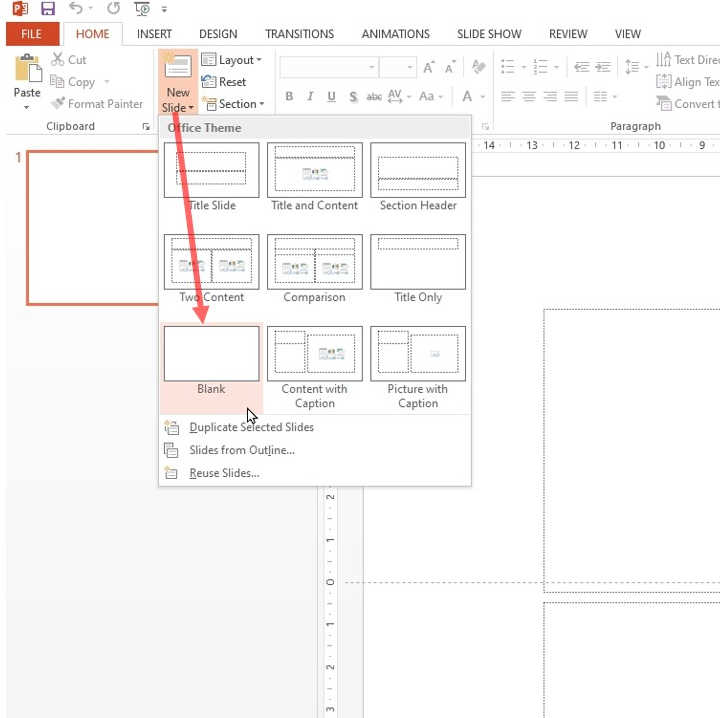
Step 1: Create a blank Slide.
First of all, to create a graphical timeline of events we are going to use SmartArt.
The first step is to open a new presentation and choose blank in new slide.
Step 2: Insert a timeline from SmartArt.
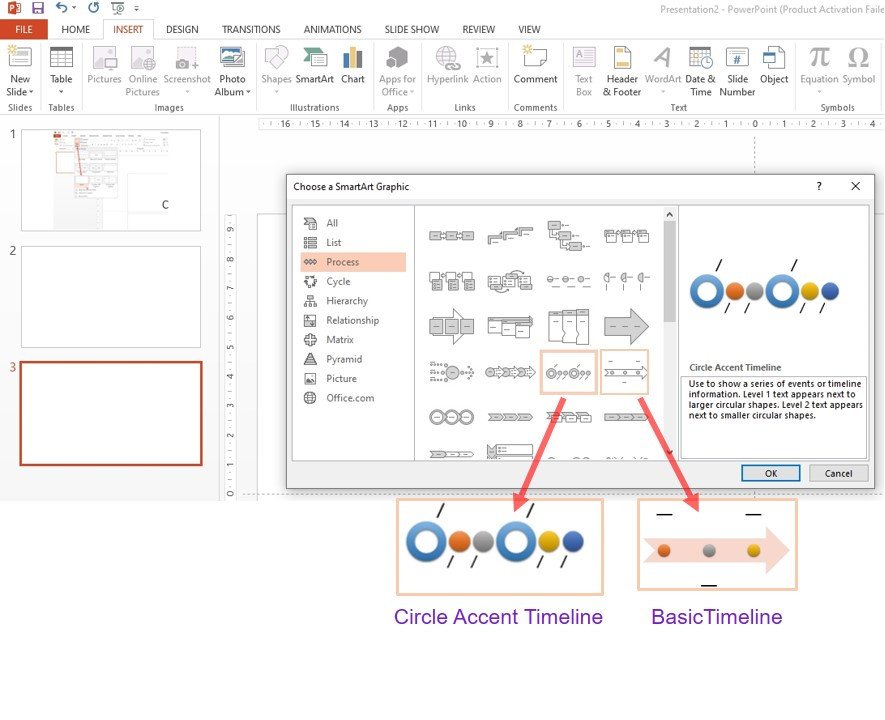
The next step, go to Insert tab and click SmartArt button.
There you can see a variety of graphics in Choose a SmartArt Graphic, then select Process.
You can choose between two timeline SmartArt graphics: Basic timeline and Circle Accent Timeline. But any process-related graph can be used as a timeline.
Step 3 Add and edit your data.
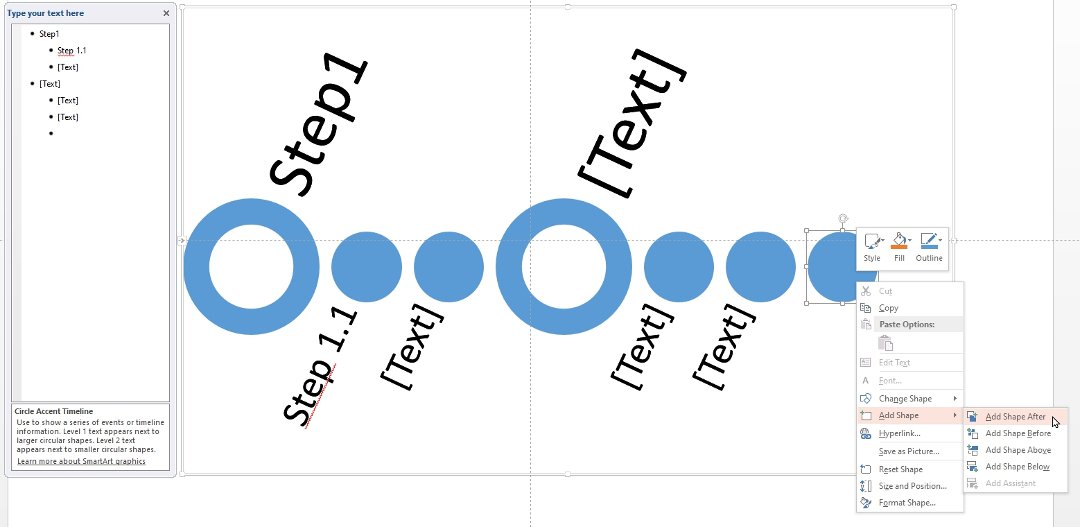
Click [Text], an write your data in the Timeline. The initial SmarArt graphic only have few milestones that you can edit, add more or remove as I show you.
As you can see, there is a helpful dialog box where you can replace [Text] with your data. You can add or remove more text items.
I’d recommend using the dialog box instead of editing the items, If you are beginning, It should be easier and faster to create a timeline on powerpoint.
And also you can change the position with Move up or Move down, and the relevance with Promote or Demote as well.
Step 4. Add or delete milestones.
As you can see in the previous picture, with the right button over the timeline graph you can also add or remove more shapes after or before the selected item.
There are four options to add a shape:
- Add shape After: You can add a timeline item after the milestone selected.
- Add Shape Before: You can add a timeline item before the milestone selected.
- Add Shape Above: You can add the main text to the milestone.
- Add Shape Below: You can add the secondary text to the milestone.
Step 5. Customize the layout and colors of the timeline.
Now you can give it your personnal touch making your Powerpoint timeline more unique. Select Design tab of SmartArt Tools. You can also add pictures in some layouts.
In the next picture, you can see different layouts of the same timele. Play with Layouts to see which suits you better.
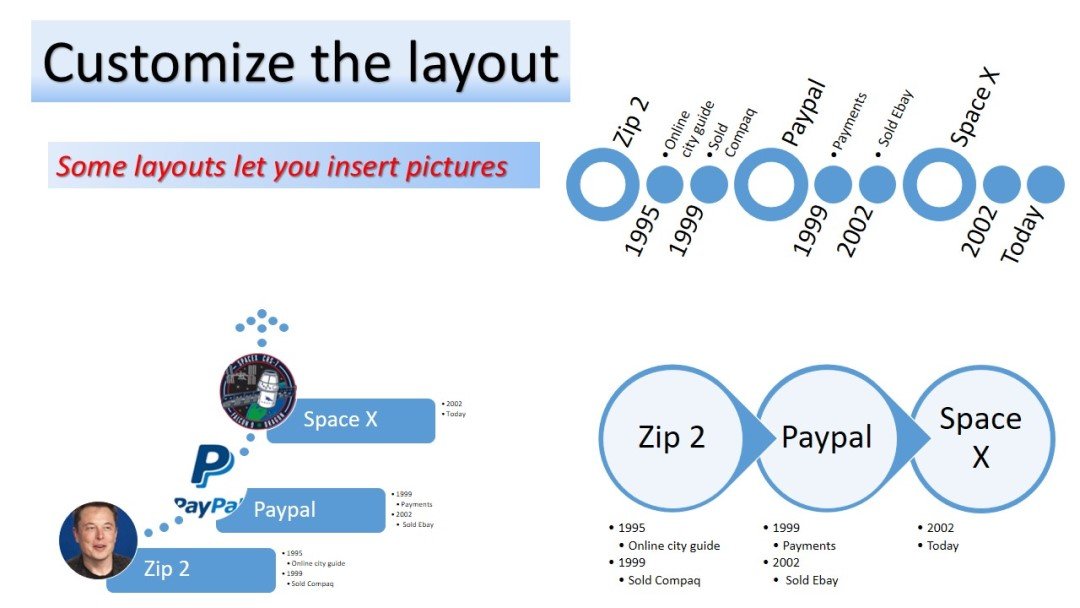
Now it’s time to change the color and the style of the layout timeline you have choosen. In the three examples I show you I choose different colors and styles to get different results.
Select the graphic, press Change Colors button on the Design tab and select the desired color mix in the menu.

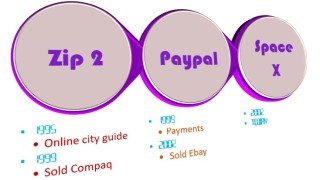

In these examples I’ve customized the whole graphic. Customizing individual items on the timeline.
Look how I do a personalized timeline in ppt. Just right click on any item and change the option you desire, font, color, size, fill, etc.
Finally, to draw attention to important milestones, change sizes and shapes. To do so, using the options in SmartArt Tools Format tab, select the objects, resize them or switch to other shapes.
BONUS - Fastest way - How to create a timeline in Powerpoint.
To create a timeline in powerpoint quickly, use an inbuilt timeline template that is offered by microsoft in its repository. There are two ways to get in there:
- Open Powerpoint and look for “Timeline” in the search box at the top of the window. Or…
- Click File tab and then New on the left panel. In the search box type “Timeline” and you’ll see a collection of Timeline thumbnails.
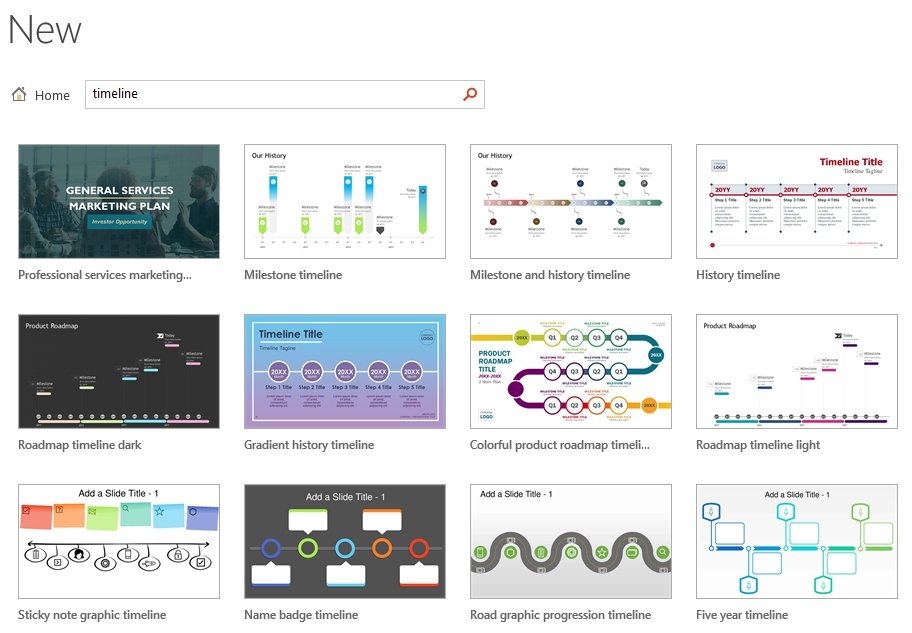
Below each timeline thumbnail you can read a small description about the type and subject you can choose.
Select one of the timeline templates offered and it will be the scaffolding of your personal timeline.
Once selected, you can customize the choosen timeline changing the syles, fonts, colors, fillings, etc. of the ppt slide.
That is, how to make a Timeline in Powerpoint with SmartArt graphs or with an inbuilt template from Microsoft. But maybe you want to use the ppt templates we have designed for you freely. Give it a chance😉
![]() Clic in the logo and visit the official web of Microsoft and download any of the basic templates they share with everybody.
Clic in the logo and visit the official web of Microsoft and download any of the basic templates they share with everybody.
EXTRA - Download timeline on powerpoint free
Download these Microsof Powerpoint timeline templates for free and save your time creating a timeline from scratch.
Most of our timeline slides are animated, so you can get awesome Timeline templates for free and surprise your public with the animations included. Timelines ppt templates and themes are compatible with Microsoft PowerPoint 2010, 2013 and higher.
If you want to modify any of the ppt templates that you have downloaded, first you must have a basic understanding of Microsoft Powerpoint or visit our section “How to create a timeline in Powerpoint” just to have a basic knowledge.
Here we give you some examples that we have made to easy your work. With this help you can make a timeline in less than 5 minutes:
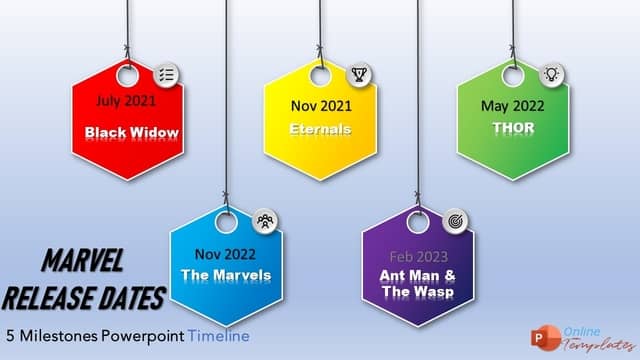
5 HEXAGONS TIMELINE
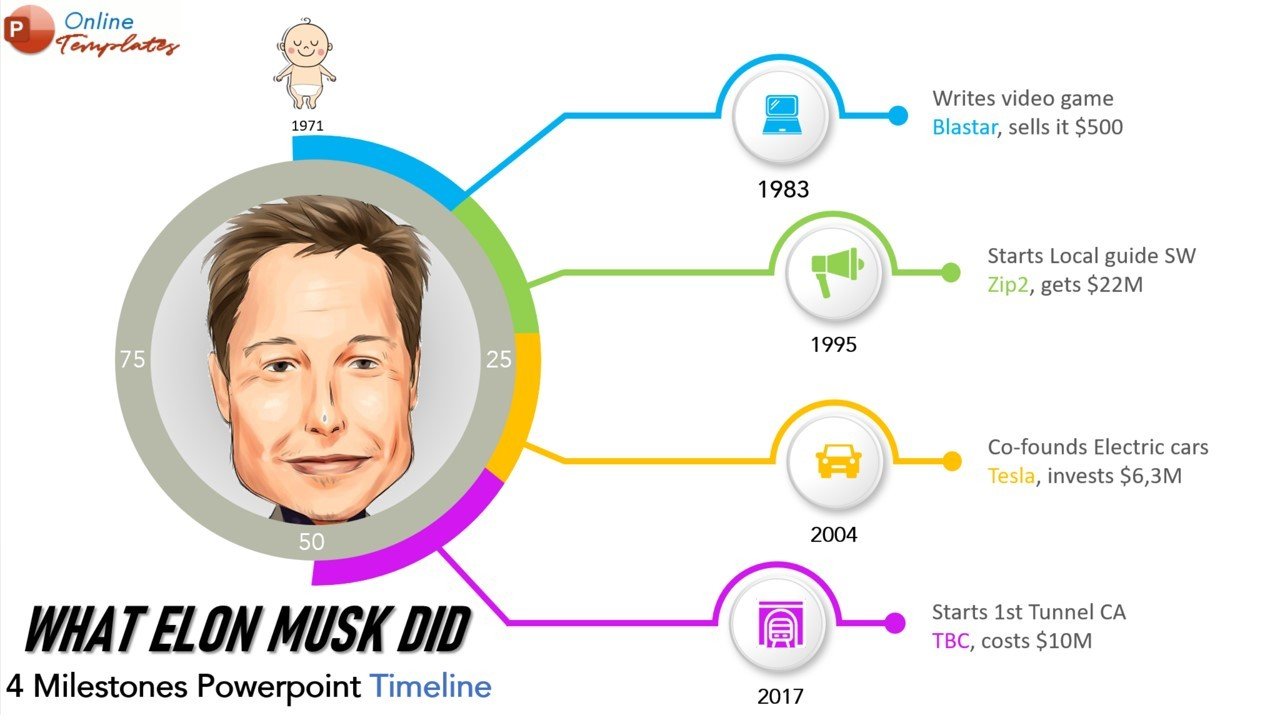
4 Milestones Timeline Template

How to create a timeline in powerpoint
